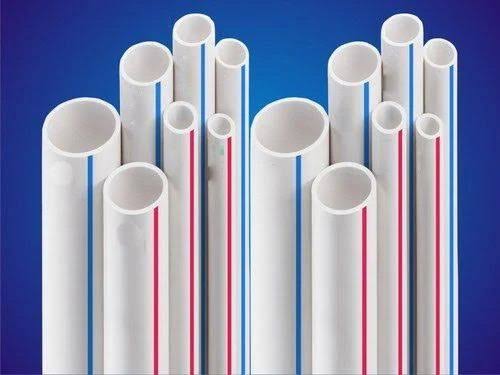
Most leaks in UPVC and ASTM plumbing do not come from the pipe itself. They come from badly made joints. A solvent cement joint, done properly, becomes as strong as the pipe and stays leak-free for years. Done in a hurry, it can start dripping within weeks. Follow these steps to get it right the first time.
What you need
- UPVC or ASTM pipes and matching fittings
- Solvent cement made for UPVC (check the label)
- Pipe cutter, or a fine-tooth hacksaw
- Deburring tool, file or sandpaper
- Clean dry cloth, measuring tape and marker
Step 1: Cut the pipe square
Measure carefully and cut the pipe straight across. An angled cut leaves a gap at the bottom of the socket, which weakens the joint. A pipe cutter gives the cleanest cut; if you use a hacksaw, keep the blade straight.
Step 2: Remove burrs and chamfer the edge
Remove the rough plastic edges inside and outside the cut. Lightly bevel (chamfer) the outer edge of the pipe. This stops the edge from scraping the cement off the socket when you push the pipe in.
Step 3: Clean and dry both surfaces
Wipe the pipe end and the inside of the fitting with a clean, dry cloth to remove dust, mud, oil and moisture. Cement does not bond well to dirty or wet surfaces.
Step 4: Dry-fit and mark the depth
Push the pipe into the fitting without cement. It should go in part of the way and then become snug. Mark the insertion depth on the pipe with a marker so you know it is fully inserted when you cement it.
Step 5: Apply the solvent cement
Apply an even coat of cement to the outside of the pipe end, up to the depth mark, and a thinner coat inside the fitting socket. Work quickly, because solvent cement starts to set within seconds.
Step 6: Join, twist and hold
Immediately push the pipe fully into the fitting up to the mark, giving it a quarter turn as you push to spread the cement evenly. Hold the joint firmly for about 30 seconds so the pipe does not push back out.
Step 7: Wipe off excess and let it cure
Wipe away extra cement from around the joint. Do not move or load the joint while it sets. Before filling the line with water under pressure, wait for the full curing time given on the cement tin. For pressure lines this is commonly around 24 hours, and longer in cold weather.
Common mistakes to avoid
- Not inserting the pipe fully into the socket.
- Using too little cement, or letting it dry before joining.
- Joining wet or dusty pipes.
- Testing the line under pressure too early.
- Mixing standards: ASTM pipes are made in inch-based sizes and must be used with matching ASTM fittings, not metric (mm) fittings.
- Using the wrong cement: CPVC hot water pipes need CPVC cement, not UPVC cement.
UPVC or ASTM: which should you use?
UPVC pipes are widely used for water supply, pump lines and borewell work. ASTM pipes follow the American standard and are popular for bathroom, kitchen and building plumbing because their sizes match standard ASTM fittings exactly. Both are joined using the same solvent cement method.
Frequently asked questions
How long should solvent cement dry before using water?
Follow the time printed on the cement tin. Light handling is possible after a few minutes, but pressure lines usually need around 24 hours before testing.
Can a leaking solvent joint be repaired?
Not reliably. The best fix is to cut out the faulty joint and make a new one with a coupler.
Do I need a primer?
Some cement makers recommend a primer or cleaner for larger pipes. Follow the instructions on the product you use.
Buy UPVC and ASTM pipes in Varanasi
Duro Pipe Industries supplies UPVC and ASTM pipes for homes, builders and plumbers. Contact us for prices and bulk orders.